
Ed is a horticultural therapist, professional gardener and writer. Ed has a BSc in Occupational Therapy from Coventry University and a Diploma in Social and Therapeutic Horticulture (DipSTH) via Thive, the RHS and Pershore College. Ed runs a community kitchen garden in West Sussex, where he leads horticultural therapy sessions.
Reviewed By DAN ORI

Dan has over 27 years’ under his belt caring for plants and gardens. Working as a Horticultural Instructor and Consultant, he draws on a diverse range of experience that includes working as a Head Gardener, Tree Surgeon, Garden Centre Trouble Shooter, and writer of academic papers. Dan has a Level 3 Diploma in Horticulture and is currently a candidate for the RHS’s most prestigious award – The Master of Horticulture.
IN THIS GUIDE
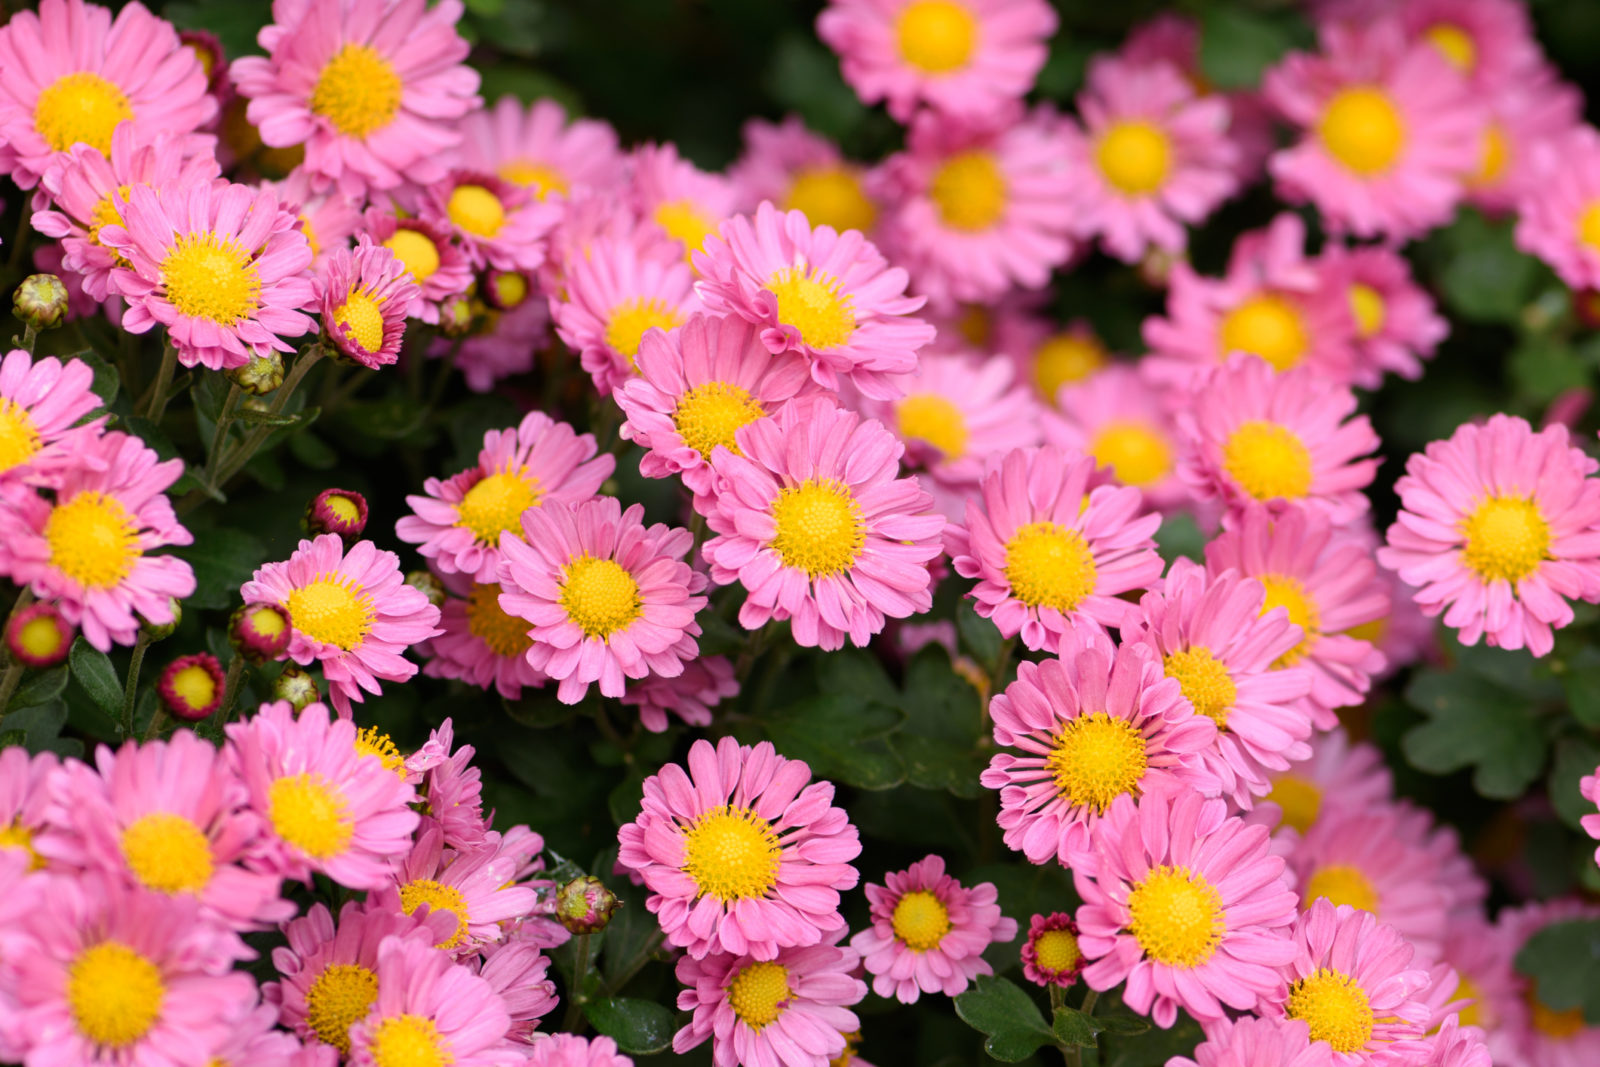
Asters, or Michaelmas Daisies as they are commonly known, are late flowering perennials that can bloom from the end of summer until the first frost, often as late as November.
This article concentrates on Symphyotrichum novi-belgii asters, also commonly referred to as Michaelmas daisies.
A stalwart of cottage garden planting schemes, they are a great and late source of nectar for pollinators to build up their reserves before winter arrives.
Growing Asters by propagation is a rewarding and free way of producing new plants to replace old stock, add to your garden or give away.

Propagating new Aster plants can be achieved by either:
- Dividing existing plants
- Harvesting the seed pods of the plant and growing from seed
- Taking cuttings from an existing plant
Each of these processes is explained in more depth below.
| Difficulty | Medium |
| Equipment Required | Gloves, spade, trowel, seed tray, pots, compost, knife, secateurs |
1) Dividing Existing Plants
As with many perennials, Asters tend to need to be rejuvenated every 3-4 years, which can easily be done through a process called division in early spring.
Dividing Asters is an easy, quick and reliable way to produce more plants and is often the preferred option over growing from seed or cuttings.
As soon as new green shoots appear in spring, an Aster can be dug up and lifted and divided into 2-3 smaller sections or divisions.

Using a sharp spade or knife, the plant and its roots can be sliced apart into smaller clumps and any dead material removed.
Each clump should reliably grow to be a healthy specimen, as long as each new division has roots and some fresh green growth showing.
These divisions can then be planted out around the garden, potted up or given away to family and friends.
2) Harvesting And Growing From Seed
Asters often self-seed around the garden and collecting their seed to sow is a viable way of propagating new plants.
However, any plants grown from collected seeds may not be identical to their parent plant, unlike when grown from division or cuttings.
Aster seeds can be harvested once the flowers fade and turn brown at the beginning of winter.

On a dry day, the seed can be collected either by cutting off any spent flower heads or by crumbling the seed heads into an envelope or onto a dry surface.
The collected material can often still be damp inside, so it is advisable to allow the heads and seed to dry out for at least 1-2 weeks before storing.
Once completely dry, gently separate the seed from the rest of the plant material and label and store until the following year.
To store the seeds, keep them in a dry, cool and airtight environment – brown paper envelopes or glass jars are ideal.
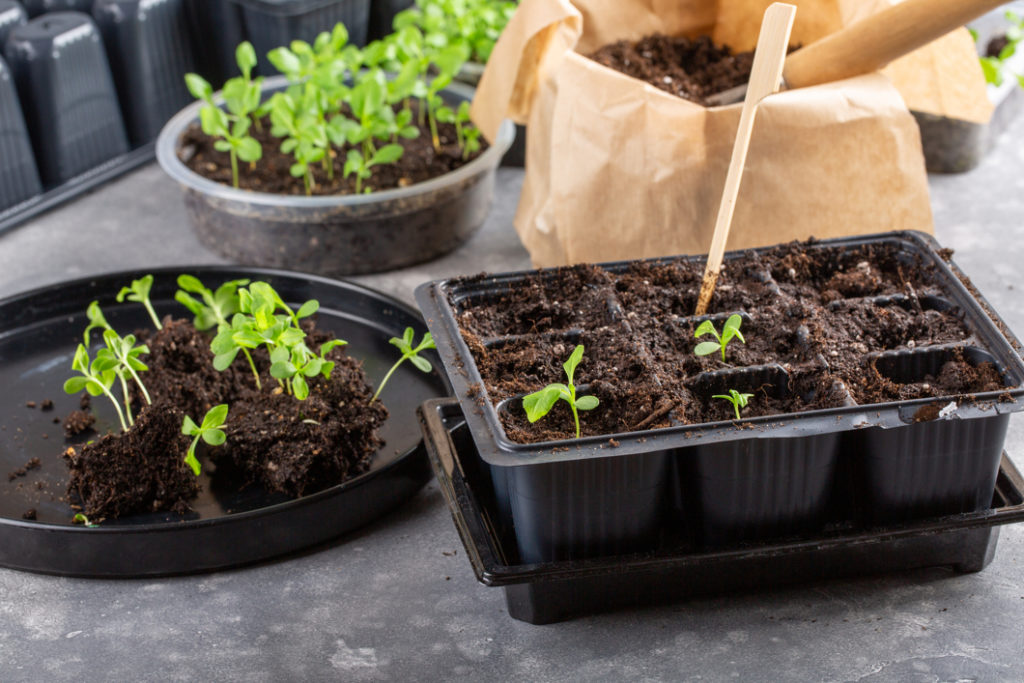
Here in the United Kingdom, Aster seeds can be started indoors from March onwards.
Sow the seed thinly in a seed tray or in modules, and cover lightly with compost and water well.
Place on a warm window sill or in a propagator as Aster seeds need a temperature of 15-21°C to germinate reliably.
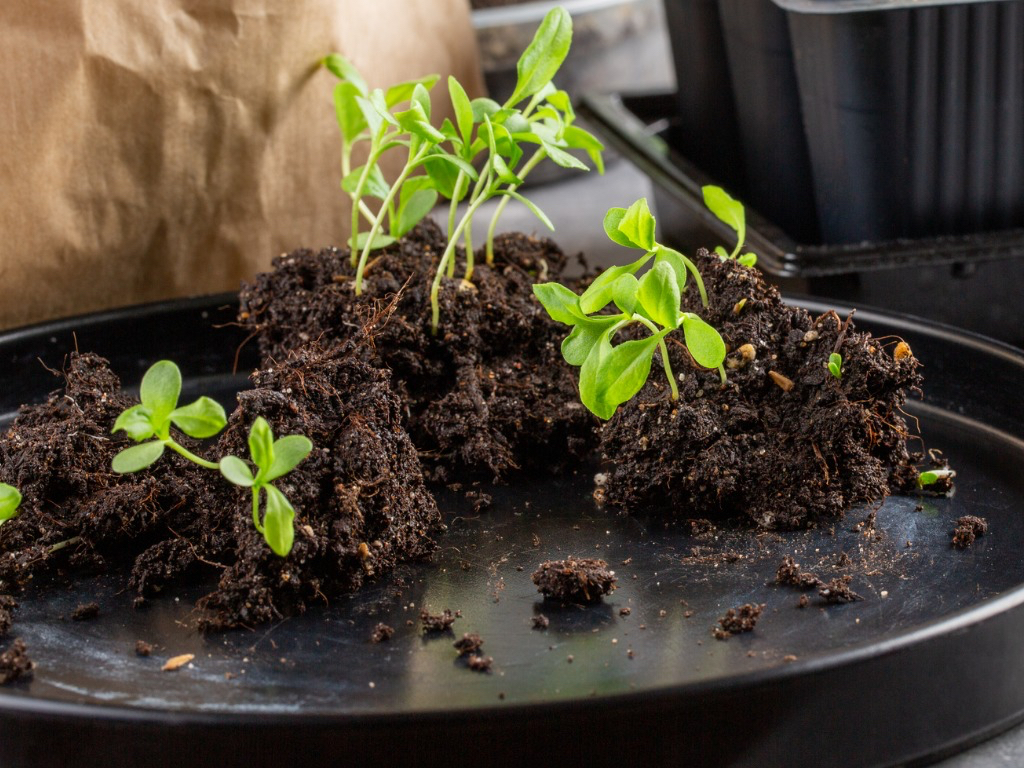
Once germinated, usually after 2-3 weeks, and large enough to handle, carefully prick out and pot on individually in small pots.
Grow on and once the risk of frost is over, harden off and plant out in their final growing place.
3) Taking Cuttings From An Existing Plant
As with dividing, basal softwood cuttings from Asters will come true to their parent plant.
In spring once new growth appears, using a clean and sharp pair of secateurs or knife, take some cuttings approximately 8-10cm long.
Take the cuttings as close to the base of the plant as possible, including some of the harder wood basal growth.
Remove all but the top few leaves of the cuttings and lightly cover the bases with a rooting hormone.

Insert the prepared cuttings into a pot pre-filled with a cuttings compost mix, so that the leaves are above, but not touching the soil and water in well.
Place the cuttings in indirect light in a propagator or cover them with a clear plastic bag and keep them warm indoors to increase humidity.
Keep the soil moist and once the cuttings have rooted, usually after 2-4 weeks, pot on individually and grow on.
Harden the new plants off and plant out when large enough and only once all risk of frost has passed.
“You will normally find that Symphyotrichum asters grown from seed will put on leaf growth in the first year and flower in the second year, whilst plants from cuttings and division will normally flower in the same year,” shares Dan Ori, Horticultural Instructor and Consultant.